ShopTalk
https://youtu.be/ILoBIL5c7gU When the driver unloaded the new Milwaukee® 46” Steel Storage Chest and Cabinet from the truck, my mouth dropped, and I stepped aside, in awe. Every time I go into the garage, that same feeling overtakes me. Of the 80 new tools released by Milwaukee in 2015, the Chest and Cabinet organizer is in Read more
https://youtu.be/ILoBIL5c7gU
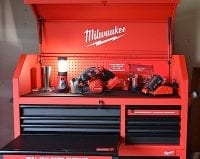
When the driver unloaded the new Milwaukee® 46” Steel Storage Chest and Cabinet from the truck, my mouth dropped, and I stepped aside, in awe. Every time I go into the garage, that same feeling overtakes me.
 Of the 80 new tools released by Milwaukee in 2015, the Chest and Cabinet organizer is in line with Milwaukee’s overall message in that this is not just any other new tool launch, but it is made with the tradesperson in mind. Built for extreme productivity, the new storage solution was designed with the versatility, function, durability and organization options that professional users need every day.
“Many storage solutions in this category do not have the durability that professionals expect, and do not provide users with the versatility they desire,” says Bobby Shaw, Director of Product Marketing for Milwaukee Tool. Milwaukee’s new storage solution features a reinforced angle iron frame and 5” industrial casters — two of which swivel and have wheel lock capability — for ultimate durability, and is fully loaded with innovative features to maximize productivity.
Installation and Set-up
The storage chest and cabinet come separately, as two pieces, and overall installation time is less than 20 minutes. Set-up instructions are simple to navigate through and it comes with proper tools, sans Philips screwdriver. I will caution that the two pieces are quite heavy so having a second person onsite to help lift the Chest on the Cabinet is needed.

My integrated workstation: this pull-out work surface is ideal for laptops while storing important documents underneath.
The Tool Chest
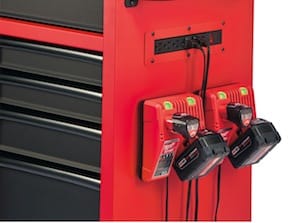
I’d like to think of the storage chest and cabinet an integrated workspace. It features enough surface space to organize tools, and one of the drawers features a pull-out work surface, (drawer/moveable lid) so I can place my laptop right on top when the drawer is extended, and beneath I can store documents. In addition, the “toolbox” features a built-in power center that includes 12 outlets for necessary charging. There is a cord in the back of the unit that needs to be plugged into an electrical outlet.

Plenty of surface area for tool placement; the pneumatic lid features 10.5″ clearance so upright tools will not be upset.
There are 16 drawers in all that feature 100-lb soft close capability, and two that include a second set of slides to support 200 lbs. In all the 46” Steel Storage Chest and Cabinet can support a weight capacity of 1,800 lbs. All of the drawers can be locked — with key entry — for added security.

Storage space galore: 16 drawers feature 100-lb soft close capability, and two that include a second set of slides to support 200 lbs.
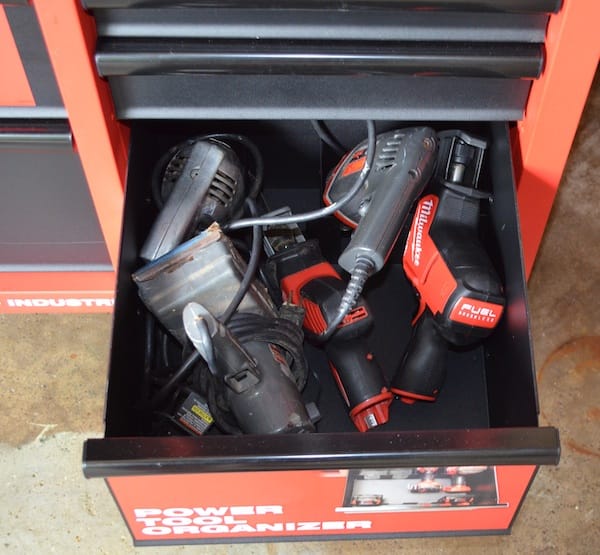
For added utility, a power tool organizer keep tools upright, and an independent locking drawer keeps valuables and personal goods secured while working. Under the pneumatic lid, users can also store tools on the integrated metal peg wall, or upright directly on the work surface, which has 10.5” of clearance from the lid when closed.
Retail price:
• 48-22-8500 is the combo ~ $700
• 48-22-8510 steel storage chest (top) ~$300
• 48-22-8520 Rolling steel storage cabinet (bottom) ~$400
Awareness of indoor air quality has increased substantially in recent years, and the systems that supply air to our living and working spaces are critical to the maintenance of a healthy indoor environment. I recently had the opportunity to install a Hornet 24v UV light by UV Resources on my home’s furnace. As with any Read more
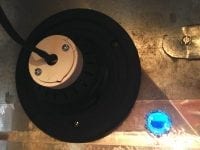
Awareness of indoor air quality has increased substantially in recent years, and the systems that supply air to our living and working spaces are critical to the maintenance of a healthy indoor environment. I recently had the opportunity to install a Hornet 24v UV light by UV Resources on my home’s furnace.
As with any product I test I look at a list of things that are important to contractors such as the following:
- Does the product provide a solution to problems contractors face daily?
- How long has the product been available? Does it have a history of use or installation?
- Cost and availability.
- For non-tools: Is it easy to install?
- Does it work?
Right from the start I can tell you that I went into this product test with little knowledge of UV light systems. I have read and followed different sources on the subject on and off for a few years but I have not installed one prior to this test.
It is generally agreed that source removal of contaminants remains the single best method for cleaning and decontaminating HVAC systems. One of the tools used to improve air quality from HVAC systems is the use of ultraviolet lighting within the system, intended to decrease the level of airborne pathogens and allergens going through the HVAC system and into the indoor air environment. The Hornet™ system claims to provide reductions in air conditioner allergens, mold and odor while improving a/c efficiency.
The installation
The Hornet™ comes securely packaged in a retail-style box with full-color printing and product descriptions.

Retail-style packaging, top view.
The Hornet efficiently destroys surface and airborne microbes that grow in, and circulate throughout, A/C systems and which impede coil efficiency, clog drain pans, and become major contributors to allergies, airborne transmitted disease, odor, or poor indoor air quality.
Included in the box are all parts needed for a complete install. The lamp, mounting plate, power converter cord for 120v supply and a useful template for drilling the holes needed to carryout the installation.
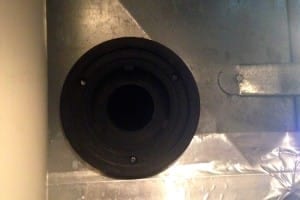
The Hornet™ installs from the exterior of the furnace plenum so it does not require you to perform any duct surgery; making the install very quick and clean.
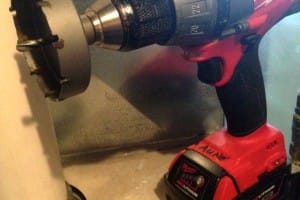
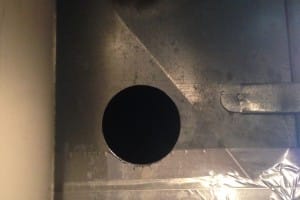
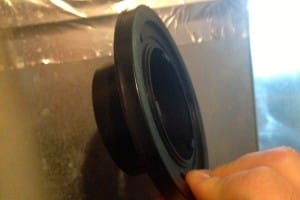
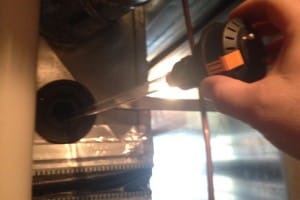
One 2-3/4” hole saw is used for cutting mounting bracket hole. The second hole drilled is 5/8” to mount the clear plastic “view port”.
The total time of installation [when using the plug-in 120v cord] was about 15-20 minutes once the proper/safe location for the lamp was located (location and measurement of the A/C coil is necessary prior to drilling).
Add another 15-20 minutes for wiring the unit into the zone panel or furnace control board for automatic operation when the air handler is running. The use of the 120v cord adapter will leave the lamp running constantly, even when the furnace is not in use. Installed labor and materials should place the final costs in the $300-500 range for purchasers, of course this is dependent on labor rates and install conditions.
Overall, UV light systems like the Hornet™ can offer another avenue for complete service offerings to the HVAC contractor. This particular product installs easily with a minimum of tools, none that are specialized, and would be a great add-on for any service/install contractor.
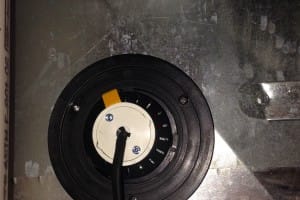
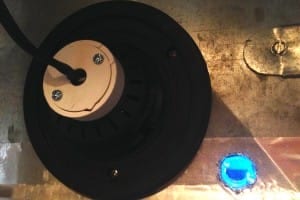
Pictures of the install are below (taken with a phone, I apologize for the low resolution)
For years now I’ve been tripping over loose drop-cloths and floor runners on my way out the door with an old, dirty water heater. Since there are few water heater replacements that fall under the “pro-active replacement” category [does that even exist?] it seems that most tanks I myself or my guys have carried out Read more
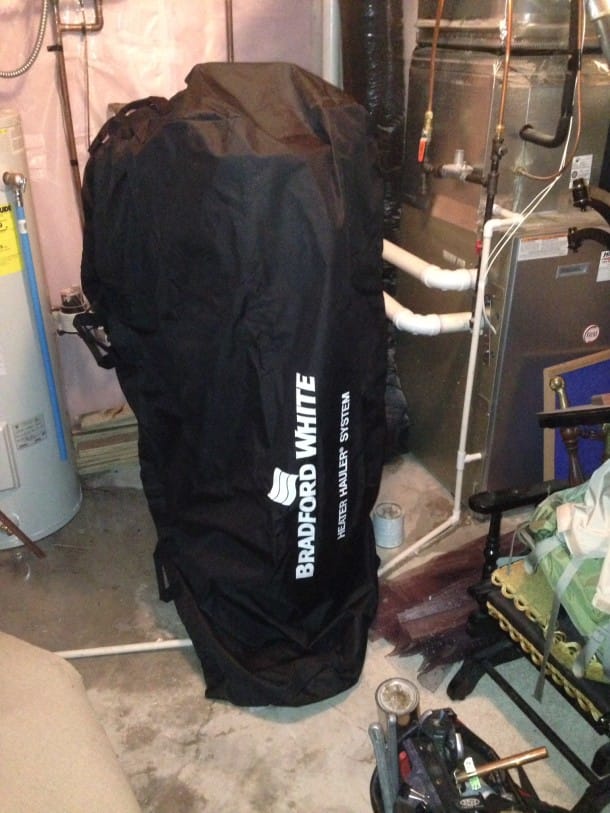 For years now I’ve been tripping over loose drop-cloths and floor runners on my way out the door with an old, dirty water heater. Since there are few water heater replacements that fall under the “pro-active replacement” category [does that even exist?] it seems that most tanks I myself or my guys have carried out of a house or commercial space have been leaking some sort of dumpster juice quality solution or shedding their share of rusted jacket material only to leave a trail of evidence that we were recently there.
A few months ago our friends at Bradford White contacted me with a solution to this problem. I suppose they heard the outcry as I was frantically searching Google for the nearest available carpet cleaner due to a drop-cloth mishap. Well, they delivered.
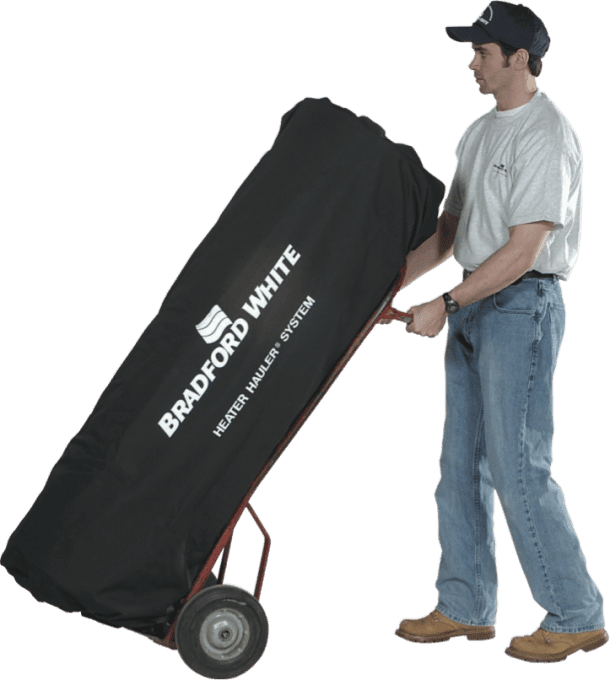
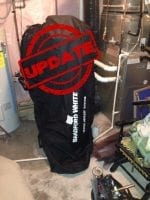
The HEATER HAULER, as it is appropriately named, is a giant containment bag engineered to assist the installing contractor in a tidy job without the added hazard of loose floor runners/drop-cloths.
The features listed on their website are as follows:
- Facilitates removal of light duty commercial water heaters up to 80 gallons (303 liters) (maximum recommended weight – 250 lbs. 113 kg.)
- Heavy duty, vinyl laminated nylon construction with full velcro opening
- Double stitched heavy duty top & side handles
- Helps eliminate damage to floors and carpets during removal
- Liquids, oils and grease will not penetrate
I’ve put it to the Aune Plumbing test on over a dozen jobs now and the time it saves me is worth the price of admission. I’ve tried tarps, heavy-duty plastic bags and more to contain the mess of some of the tank style heaters we’ve replaced over the years. This bag does the work, only better, than any of those failed experiments.
If I had any suggestions to our friends at Bradford White it would be to offer a smaller model. This bag is huge and will haul an 80-gallon tank. That’s a lot of room and considerably more than is needed for the typical 40-50 gallon replacements of our market. The extra room makes for a sometimes-cumbersome handling through doorways or up stairways.
I do caution anyone looking to add this to the truck, the bag has two large canvas strap handles [like a duffle bag], after about five or six uses I personally tore one side of one strap from the bag while attempting to use the straps to move a 50 gallon gas heater thru a hallway. The bag is still useful but I would recommend not relying on the straps for handling while loaded.
___________________________________________________________________________________________________________________________________________
7-6-15
Shortly after posting this review the nice folks at Bradford White sent over a replacement Heater Hauler; I assume in reaction to my comments about one of the handles detaching from the bag after only five or six uses.
After at least a dozen uses since I can report back that both handles/straps are intact and remain fully attached on the replacement bag. I would caution that during lifting or hand-truck transport of a bagged tank all workers be careful and practice safety first. I don’t believe the bag handles are intended to be used as the main connection point the to load at hand and are there more for slight maneuvering etc. Overall, I’d say this has been a valuable tool to keep on the truck and I have no reason not to recommend it to professional contractors looking for a useful tool to make the job quicker and cleaner.
___________________________________________________________________________________________________________________________________________

