A couple months ago I was asked by the Mechanical Hub team to to put the Bosch EC Brushless Socket-ready Impact Drill/Wrench (IDH182) through some tough and challenging rigors. In my line of work that would not be a problem as being a contract Fire Sprinkler Fitter. 10 years in the industry I’ve gone through Read more
ShopTalk

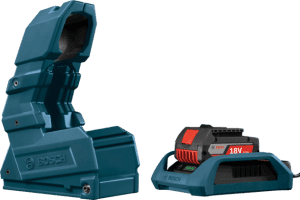
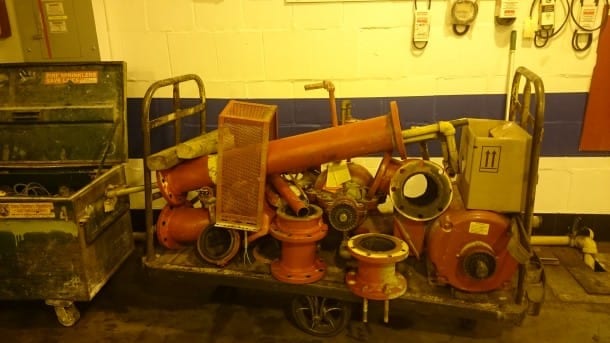
 A couple months ago I was asked by the Mechanical Hub team to to put the Bosch EC Brushless Socket-ready Impact Drill/Wrench (IDH182) through some tough and challenging rigors. In my line of work that would not be a problem as being a contract Fire Sprinkler Fitter. 10 years in the industry I’ve gone through my fair share of Impact drills. I had the perfect job coming up tearing down and replacing a Fire Pump at the local USPS headquarters. In addition to the impact I also got to test out the new WC18CHF-102 18 V Wireless Charging Starter Kit with Mobile Holster and Frame. The first of its kind as to my knowledge but more about that below.
I’m very familiar with Bosch drills as we use them for all sorts of pipe drilling for mechanical tees. It just so happens that our Fire Sprinkler shop uses both Bosch and Milwaukee cordless power tools. So when the Hub told me I was getting a wireless charging 18v impact drill, I was already skeptical that it would have the power and the torque to take on such a large task and expected to be charging batteries all day. Up to this point I have been a Milwaukee man and I was determined to push the Bosch 18v EC Brushless Impact drill to it’s limits. I wanted to see this drill fail in action.
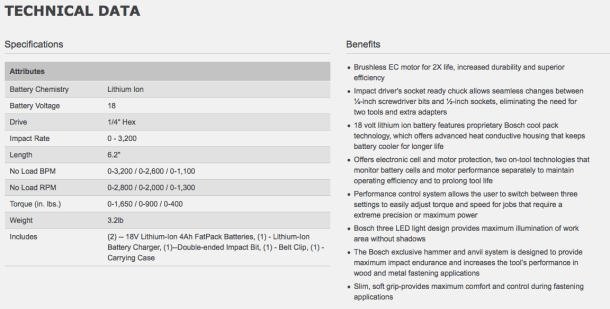
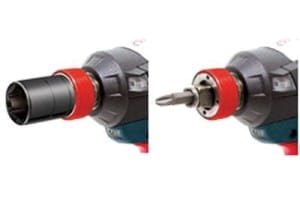 To my surprise at first looks it seemed a bit too small for big jobs. Also I was intrigued by the drill’s chuck, it allows seamless changes between ¼-inch screwdriver bits and ½-inch sockets, eliminating the need for two tools and extra adapters. This would prove to be extremely useful on the job as I would not have to keep track of my socket adapter [for my Milwaukee impact driver] in the mess of flange nuts and bolts. I also noticed a variable speed setting but this meant nothing to me as a Sprinkler Fitter, admittedly we are pedal to the metal. We’ll leave the finesse stuff to the soccer Moms and HVAC techs. The Drill is also fitted with a Bosch three LED light design to provide maximum illumination of work area without shadows; that’s good because a lot of my work is in dark places. Gripping the drill was comfortable and the drill itself was pretty light. To my own chagrin I was excited to even think of the small spaces I could possibly maneuver the drill to get to the difficult reaches for bolt removal on flanges; an task normally left to manual removal with a adjustable wrench and hold back.
Bring it on!
I was going to defeat this drill and prove that once again my Red Impact would outperform and last as long if not longer. Not only that, but the environment this drill would be in was constantly wet and trapped with water. There was no way in my mind this drill would take the abuse or last long enough. Step one was to set start charging the wireless 4.0 Ah FatPack battery with the wireless charger. As I placed…yes placed the 4.0 Ah 18V Wireless FatPack Battery on top of the charger the indicator lights indicated all systems go. This part just felt odd that I did not have to snap a battery into a charger. Sometimes that click can be soothing and reassuring, but hey I’m willing to try new things.
At first I thought I had the Bosch on the run and already down for the count as it struggled to loosen 1 ½-inch flange bolts. I was already getting my satisfaction that I was right. It was too small to do the job. But the reality was my Milwaukee couldn’t handle it either. The bolts were all painted with a heavy latex paint. I had to achieve some of the loosening manually as some of the threads were covered in the thick rubbery paint.
https://www.youtube.com/watch?v=_8euhOOZdTw
So as the week went on demoing and rebuilding the Pump and system of flanges and vics…I kept using the Bosch over my Milwaukee. I also didn’t notice right away that the battery impressively lasted and performed, if not outperformed my Milwaukee drill and batteries. The Bosch wireless charger kept up beautifully during the project and I never once had to wait for a charge. I also fell in love with speed and torque of the drill as I knew I had a secure tight fit with each flange bolt. By the end of the project I had completely ignored my Milwaukee Impact drill and it’s socket adapter. I became so impressed and attached to the Bosch that if my apprentice even looked towards it, I would hiss and low growl at him like a beast from hell just daring him to try and ask me for it. Use the red one, rookie…
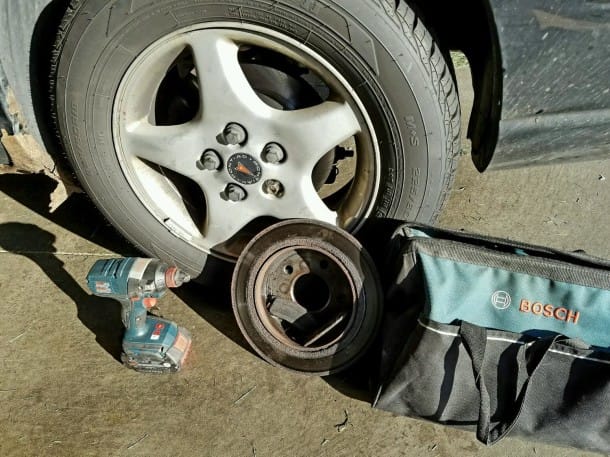
So one more test I had to try. What about the average Joe working on his trusty vehicle that hasn’t had a rear brake job since 2005? Not only did it handle the lug nuts but the variable speed and torque setting allowed a safe loosening and tightening of the brake caliper assembly and rotors!
This IDH182 Bosch 18 V EC Brushless Socket Ready Impact with 1/4 In. Hex and 1/2 In. Square Drive won me over big time! Absolutely impressive in my opinion and actually fractured my brand loyalty from previous mind set. This Drill can do big jobs as well as little jobs. It’s just as much for the average Joe as to the Professional Contractor. Well done Bosch.
Back in 2015 we were teased with the introduction of a new premium line of pocket knives from Milwaukee while attending the annual New Product Symposium. Milwaukee has had great success with their FastBack Knives, offering utility blades and fixed blades and the recently launched FastBack Compact 48-22-1906 is the best knife we’ve ever owned Read more
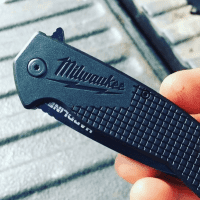
Back in 2015 we were teased with the introduction of a new premium line of pocket knives from Milwaukee while attending the annual New Product Symposium. Milwaukee has had great success with their FastBack Knives, offering utility blades and fixed blades and the recently launched FastBack Compact 48-22-1906 is the best knife we’ve ever owned for under $10. It is value like this that gives us great hope for this new higher end line of pocket knives, Milwaukee’s Hardline Knives are intended to be the next step-up with high end D2 steel and premium features but a price point of $59-$79 which is about half of what you’d shell out for a competitor’s knife with similar features.
I’ve been working in the trades for over twenty years and I cannot think of anyone I’ve worked with that doesn’t carry a knife of some sort on the job. Even off the job you’d be hard-pressed to find trade workers not carrying a pocket knife. One thing is for sure, everyone has a different idea of what knife is best and that hinges on multiple factors: style, size, quality, etc. After many successful years of offering pocket knives Milwaukee has upped the ante with a higher quality offering.
The 4 Knife/Blade options are: 2.5” HARDLINE™ Smooth Blade 48-22-1997 ($59), 3” HARDLINE™ Smooth Blade 48-22-1994 ($69), 3” HARDLINE™ Serrated Blade 48-22-1998 ($69), 3.5” HARDLINE™ Smooth Blade 48-22-1999 ($79) and are available now.
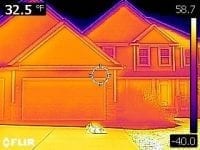
As with all the tools we test here at The Hub we like to get a few weeks of actual jobsite use under our belt before reporting back to you. About a month ago I started using the FLIR C2 Compact Thermal Imager with MSX patented multi-spectral technology. Here are the facts and my findings Read more
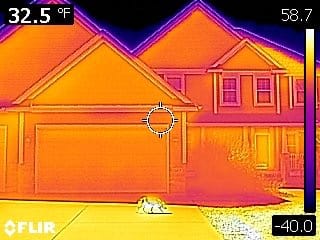
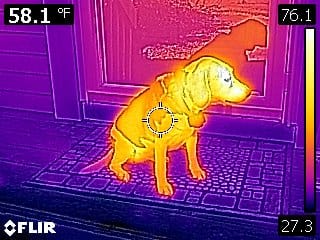
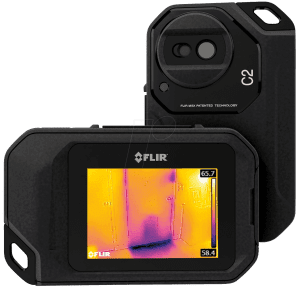 As with all the tools we test here at The Hub we like to get a few weeks of actual jobsite use under our belt before reporting back to you. About a month ago I started using the FLIR C2 Compact Thermal Imager with MSX patented multi-spectral technology. Here are the facts and my findings.
It hasn’t been that long since I used to hire local inspection agency to come out to my jobs to do thermal imaging. At the time I would pay few hundred dollars for a couple hours of work which roughly equates to about half of what it costs to own a thermal imaging device today. The technology has advanced to a point where productions of more compact, very capable hard and software has brought these devices/cameras well below $1K. Wait, what?! Yeah, my first camera was a little over two thousand dollars and I went half in with a contractor friend to share the costs; not really knowing if the investment would ever pay off.
The FLIR C2 retails for $699 making it an excellent buy for any contractor looking to add the benefits a thermal imaging device brings to the ever-growing tool bag. After having owned a couple thermal imagers now I cannot imagine not having one available. Challenges such as locating radiant tubing embedded in a slab or below a floor and hot spots on heat exchangers are often effortless tasks when you’re armed with these devices.
Using the FLIR C2 Thermal Imaging Camera
Right out of the box the FLIR C2 is intuitive and extremely easy to use; producing excellent images straight away. Similar to any compact automatic camera the C2 captures digital image of a scene but simultaneously captures a thermal image with a simple push of one button. The C2 is auto-focusing.
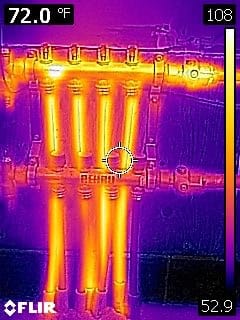
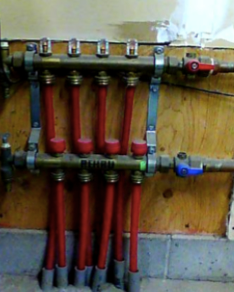
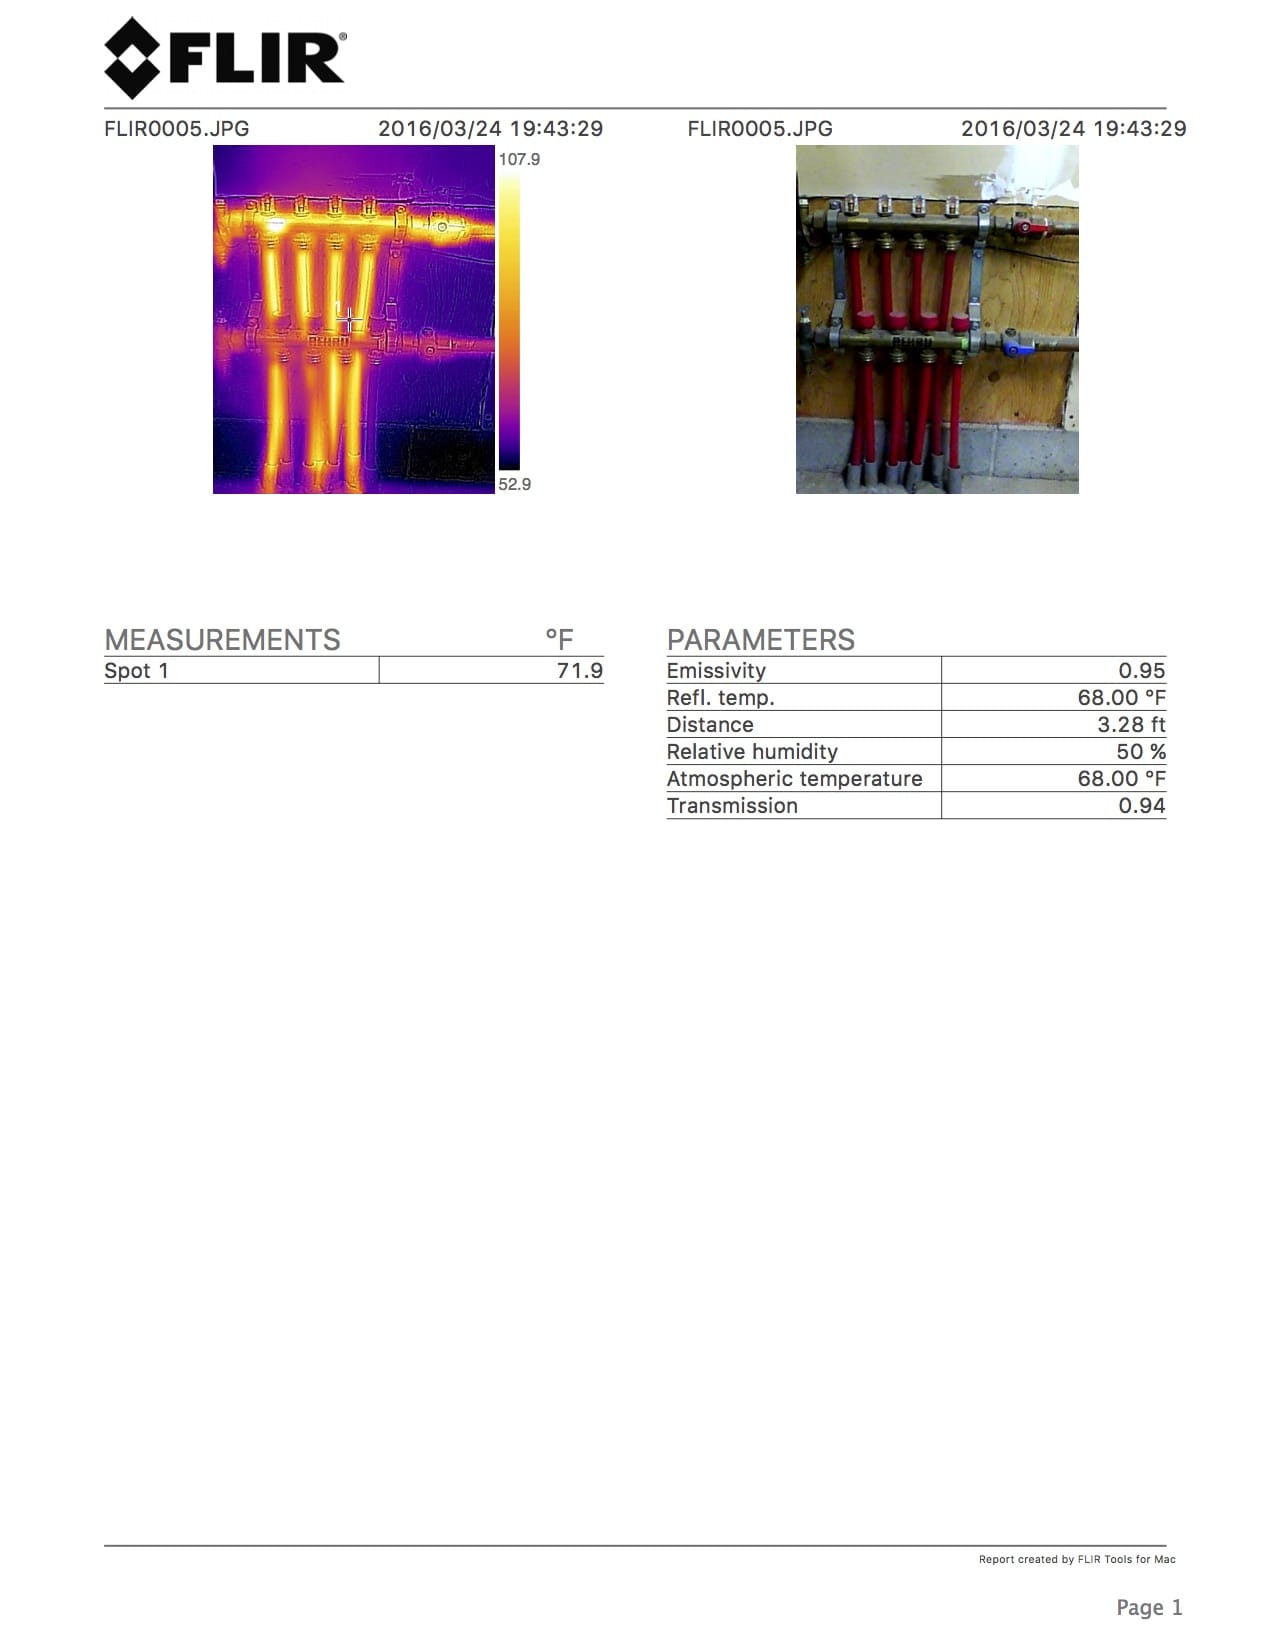
Above are both the digital photo and the thermal image I captured of a radiant manifold in a client’s garage. Both images are captured simultaneously and can be compiled side by side with the free FLIR Tools software.
Hardware
The rugged rubber like body cover of the C2 not only provides some level of protection but also makes holding on to the camera a little easier. The backbone of the C2 is the FLIR Lepton thermal core, which it shares with other recent products including the FLIR ONE for smart phones, and the FLIR TG165 Imaging Thermometer.
The resolution of the Lepton in the C2 is 80 x 60, for a total of 4800 pixels. Each pixel is sensitive to 0.10 °C temperature variations–that’s excellent thermal sensitivity for a camera that fits in your pocket. The overall imaging and measurement range for the FLIR C2 is from 14 to 302 °F (–10 to 150 °C). Most users will find this fits well within the needs encountered on the jobsite, whether diagnosing electrical or mechanical equipment.
The wide-angle lens on the C2 allows larger imaging of a scene at in one shot; most users will find this an asset because of the fixed lens [think smart phone camera] on the C2. The wide, fixed lens will produce a clear image of any object over 6” away. The C2 features a 3” capacitive touchscreen.
MSX
The C2 uses the visible light camera to create FLIR’s excellent MSX blending technology. MSX mines a visible image for edges, writing, and patterns, then etches these details onto the thermal image. The thermal image retains all of its coloration and information, while the subtle grayscale of the MSX details aid significantly in object identification. To ensure that MSX works even in dark conditions, the C2 includes a bright LED flash which doubles as a spotlight.
Software
All thermal images on the C2 contain full radiometric data holding a ton of potential information. When downloaded to the FLIR Tools software [included free for both PC & MAC], each pixel in an image can deliver temperature data using multiple measurement options. You can add multiple spot meters, area boxes with min/max/avg and more. I’d be wrong not to emphasize how impressive it is for a thermal imager at this price point to offer radiometric data and full software support. Creating professional reports and organizing images is easily accomplished with FLIR Tools. Although I have yet to try it a surprising feature of the FLIR C2 is its ability to stream live video to a computer running FLIR Tools. This may be helpful when analyzing a problem across multiple load conditions. Video streaming from the C2 is not radiometric.
Image Storage
The FLIR C2 thermal camera can store 500 full sets of images (thermal, visible, MSX) to internal flash memory. A conveniently large button on the top of the camera, making one-handed use of the C2 quite simple, captures images. Images can be reviewed directly on the camera, easily toggling between the various versions of any image. All images are stored as JPEG files, giving users great flexibility in how and where to use the pictures. Download of the stored files is accomplished through a micro USB cable connected to any MAC or PC.
Wrap up
Overall the C2 is more than just a novelty and a huge step forward for thermal imaging devices priced below $1K. If you have been shopping for a portable, versatile camera and want it loaded with features offered by much higher cost models then take the time to check the C2 out. If you have anything to add to this review please do not hesitate to leave a comment below or email us at info@mechanical-hub.com.

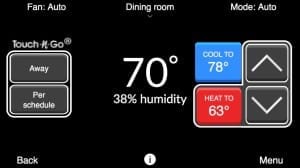
Review: Carrier Côr Thermostat an IoT device As with all the products and tools I review here on The Hub I like to put them to use for a while before posting my experience, good or bad. Early in February I installed a Carrier Côr thermostat. Côr is a “smart” thermostat with the ability to Read more
Review: Carrier Côr Thermostat an IoT device
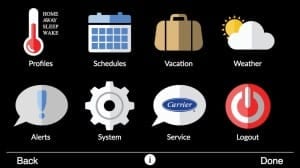
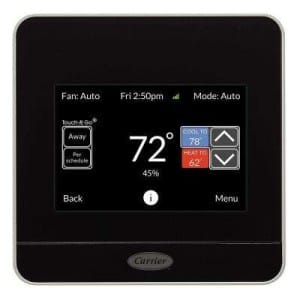 As with all the products and tools I review here on The Hub I like to put them to use for a while before posting my experience, good or bad. Early in February I installed a Carrier Côr thermostat. Côr is a “smart” thermostat with the ability to monitor the runtimes and cycles of a heating or cooling system for monthly analysis and energy saving measures but it’s more than that.
As with nearly all modern thermostats on the market today, Côr connects to any 802.11 b/g/n wireless routers, allowing remote access from virtually anywhere via simple wifi connectivity.
Guided programming options allow homeowners to maintain control of their home comfort system manually, or simply let the Côr thermostat do all the work for them. To maximize energy efficiency, the Côr thermostat offers advanced features like smart setback, which automatically determines the optimal temperature for home comfort and energy savings based on user input during setup.
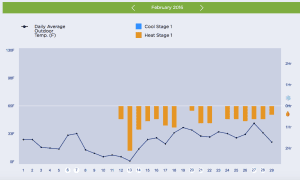
The Côr thermostat provides in-depth energy reports, with detailed system performance data available back to the installation date. Each report includes interactive energy-efficiency tips, providing homeowners the ability to instantly modify settings for maximum savings.
This, to my knowledge, may be the only Carrier product packaged and sold through the retail supply chain. But like all other thermostats on the market direct to consumer sales have proven to be a profitable marketing strategy for such devices. Be it that contractors simply refuse to adopt the latest technology in large numbers or not, a “professional” version of the Côr is not offered.
Facts & Thoughts-
– My Côr stat is operating a high efficiency boiler and forced air furnace. Both are natural gas.
– Installation was a breeze but it’s also not the first thermostat I’ve installed so nothing of note here is something to consider I guess.
– Styling closely represents the look and feel of a smart phone or tablet, color touch screen interface.
– Heating/Cooling “Smart Setback” monitors outdoor/indoor temp along with occupancy to anticipate and maintain comfort while being efficient.
– Modes: Heat/Cool/Auto (Heat & Cool Settings)
– Super dehumidification, cool to dehumidify
– Outdoor/Indoor temperature & Indoor humidity display
– Optional wall-plate/ bezel included covering existing widespread holes from former stats.
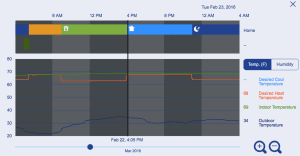
I have to say the Côr is impressive. I have just recently passed the required minimum wait time to compile enough monitored data to access the runtime/cycle reports. Although I’m not surprised at how little my heating system has ran over the last month, I have noticed less cycles per hour [compared to the previous t-stat] probably due to the smart programming.
Add yet another device to the IoT (Internet of Things) as the Côr definitely fits within the space of smart devices engineered to save energy and “automate” home operations. A standalone mobile app is available for remote connectivity thru either Apple’s App Store or the Google Play Store for Android devices making integration with existing Z-wave or Zigby platform hub systems incompatible as the Côr operates within its own proprietary network.
