The next generation of thermal imaging devices are here. Last month at AHR 2016 in Orlando I put my hands on two of the latest thermal imaging devices designed for the trades; both had great feature sets for devices which have been drastically reduced in physical size and cost. Four years ago I bought a Read more
ShopTalk
The next generation of thermal imaging devices are here.
Last month at AHR 2016 in Orlando I put my hands on two of the latest thermal imaging devices designed for the trades; both had great feature sets for devices which have been drastically reduced in physical size and cost.
Four years ago I bought a Milwaukee Thermal Imaging camera. This purchase came with great consideration; the $2500 price tag was a big pill to swallow for me at the time. In hindsight, it may have been one of the single most valuable purchases I have made.
Initially I was very concerned about how frequently I would use the camera. A common misconception with these devices is that they’re really just a cool toy. I am here to tell you that is not the case they are very cool toys! In the last four years I have had the opportunity to use the camera to not only save myself countless hours diagnosing the source of all sorts of problems but also to save my customers thousands if not tens of thousands of dollars.
In one particular case a while back I had a new customer call with wet carpet in the basement. After hours of searching for a leak, they had exhausted all of their options. They called me in to help. During the initial phone conversation the camera was not even brought up. After I had made an initial site visit, it was apparent that this was not your common leak. As we looked through many possible scenarios in the area of the leak none of those were getting us any closer to fixing the problem. I should say at the time the newness of the camera had worn off; it had been stowed in the back seat of my service truck so naturally it wasn’t at the top of my mind but, with one quick trip out to the truck I was on the fast track to finding the source of the problem.
The water line leading to the icemaker on the refrigerator had sprung a leak, dripping through the wall and landing on the waste pipe for the kitchen sink. Once on the PVC, the water proceeded to traveling the entire width of the basement, nearly 15 feet before it finally dripped onto the sheetrock and ran down the backside of an interior wall. Without the camera my only course of action would be to start removing sheet rock until the source was identified. The initial dripping from subfloor to PVC, caused a small splatter, leading to a pancake size damp spot on the backside of the sheetrock. This small spot immediately showed up through the lens of the camera on a quick scan of the ceiling. The splatter measured only a few tenths of a degree difference and would be nearly impossible to detect with any other tools. We made a small opening in the ceiling at the location and found the drip, which then led to the ice supply line. In this particular case, what may have taken a stroke of luck to find without the IR camera, I was able to identify the source of the leak in a matter of a few minutes. Pinpointing the source saved hundreds if not thousands of dollars in sheet rock repairs. This is just one example of the many uses for IR technology on the jobsite.
Back to AHR
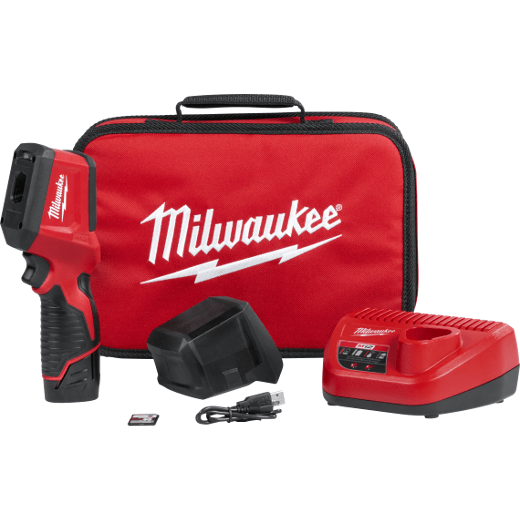
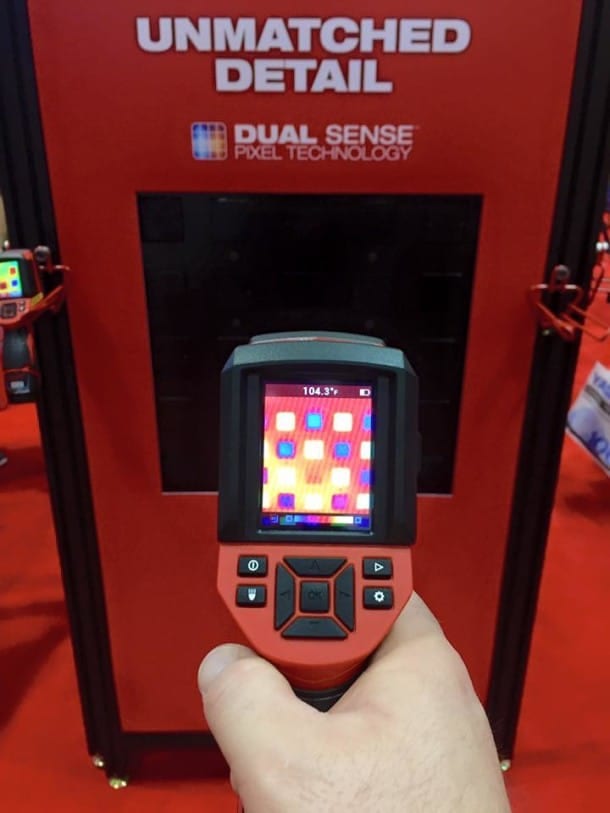 While at the Milwaukee Tool booth I tested out the latest M12 thermal imager on display. The Milwaukee M12 7.8Kp Thermal Imager delivers 7,800+ pixel image detail. Team Red’s DUAL SENSE™ pixel technology produces crisp images of heat loss, electrical resistance, water damage and mechanical issues. On-screen temperature readout and 83:1 distance-to-spot ratio gives users precise, real-time measurements from a distance. The M12 7.8KP captures, stores and shares images using the included SD card and USB cable. It’s fully compatible with Milwaukee Thermal Imager Reporting Software for archiving, analyzing and reporting. This camera is priced at $499 retail. It’s rugged and comes with a battery, charger and soft case.
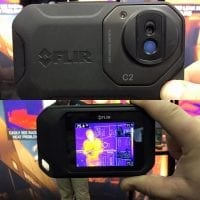
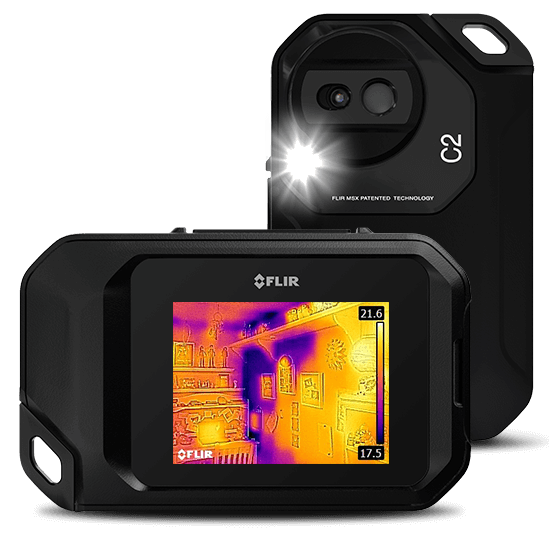
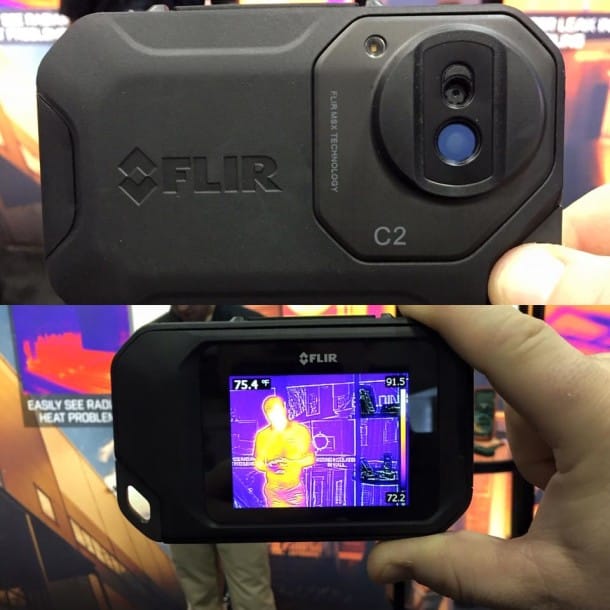 Flir’s C2 had a similar feature set to my 4 year old camera, with the addition of improved resolution, built-in image overlay software and auto focus for starters. The physical size of the C2 is roughly that of an iPhone and included a rugged protective outer shell. A product rep at the booth, noted that the internal memory could store nearly 500 Thermal and Visual images. The C2 features FLIR’s unique MSX® that adds key details from the onboard visible light camera to the entire infrared image in real time. The result is an all-in-one, undiluted thermal picture with visible light features that lets you instantly recognize where the problematic heat pattern is. The compact device does not record video, but displays the hybrid thermal image in real time. With a $699 MSRP, this device brings high-end thermal imaging to the masses.
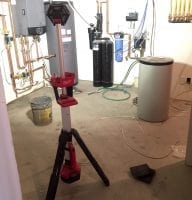
“Let there be light…” Well, at long as you have got a charged M18 battery there will definitely be enough light to safely work. Milwaukee introduced the M18 Trueview LED Stand Light late in 2015 and I’ve had it on and off job sites since last fall. Its impressive all around, here are some of Read more
“Let there be light…” Well, at long as you have got a charged M18 battery there will definitely be enough light to safely work.
 Milwaukee introduced the M18 Trueview LED Stand Light late in 2015 and I’ve had it on and off job sites since last fall. Its impressive all around, here are some of the specs to get started:
- Sets up in 5-10 seconds
- Extendable range: 4’-7’
- LED head rotates and pivots for directional lighting
- Low Mode: 850 lumens for up to 10 hours with M18™ XC 5.0 Pack
- Medium Mode: 1,300 lumens for up to 6 hours with M18™ XC 5.0 Pack
- High Mode: 2,000 lumens for up to 4 hours with M18™ XC 5.0 Pack
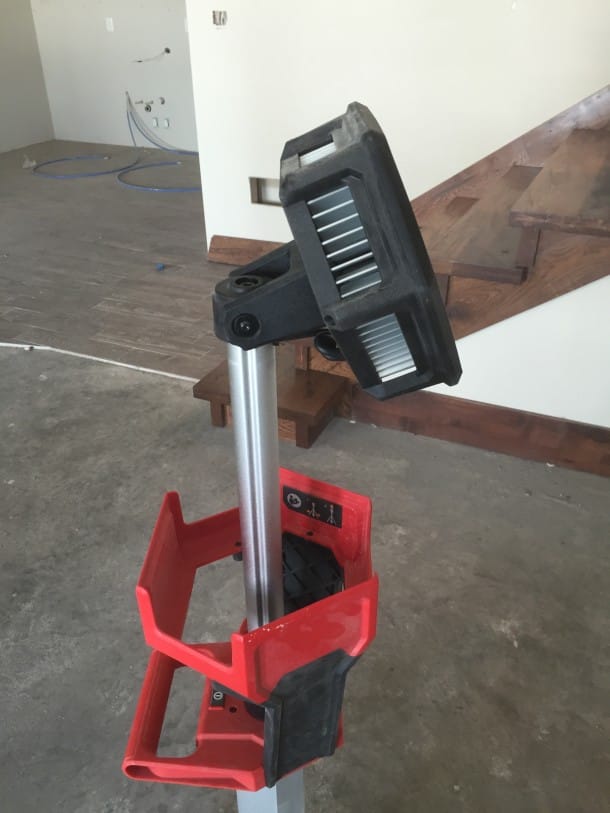
My first exposure to the Stand Light was last summer while visiting Milwaukee Tool for a media event and I knew I wanted to try it on the job myself. The stand light is just one piece of what Milwaukee categorizes as its “lighting solutions” for professional contractors. The “solution” label best describes the application of this light; I’ve been working in the trades for nearly twenty years and have tried seemingly every work light out there. This one is in a class all by itself.
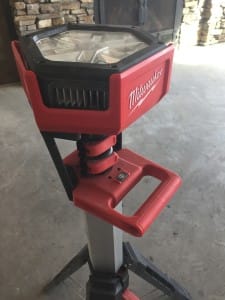 The Stand Light uses high quality LEDs with a neutral white color and a “high color rendering index” paired with a Milwaukee® designed reflector to produce an even beam pattern (Trueview system). The importance of that last sentence is this: red, black, brown and green wiring remains red, black, brown and green. A lot of LED lights on the market distort or change completely the color tones of critical components of the job, wiring being one of those critical components.
The M18 battery connection is at the base; a detail I hadn’t given much thought initially. The placement lowers the center of gravity and provides a wide, semi-stable base when using the light as is, not extended.
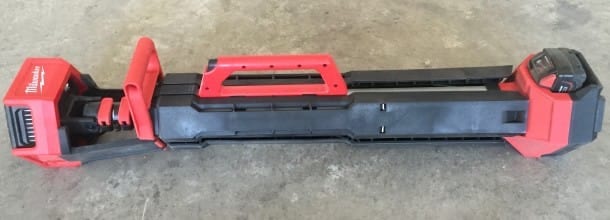
When collapsed, the light may be best described as a bazooka or the most comical flashlight. That’s by design though as the Team Red engineers have configured the fold & fit of the base and body together tightly and compact. The two carry handles are rugged and positioned appropriately.
