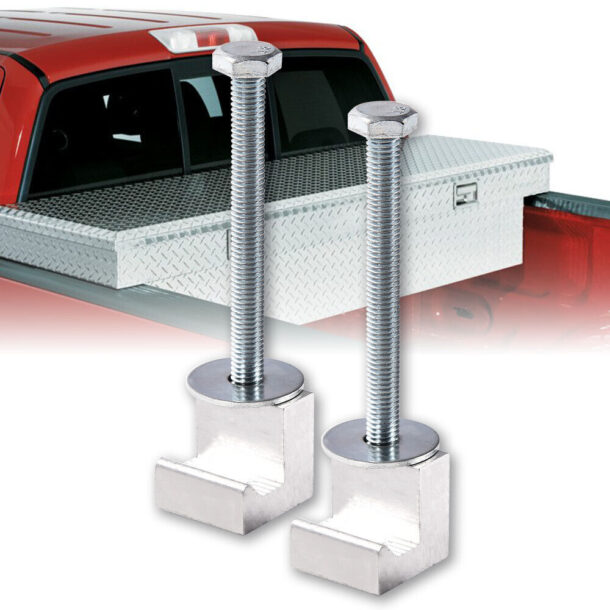
If you’re a truck owner looking for more storage space, installing a toolbox on your truck bed is the perfect solution. And with the help of a truck tool box mounting kit, the process can be done in just five easy steps!
In this guide, we will walk you through the installation process so you can have all your tools and equipment organized and easily accessible.

-
Choose the Right Mounting Kit
Not all trucks are the same, so it’s important to choose a mounting kit that is specifically designed for your truck make and model. This will ensure a proper fit and secure installation.
You can find the perfect truck tool box mounting kit for your needs at 99lifts inventory. If you’re unsure which mounting kit to choose, consult with an expert or check the manufacturer’s recommendations.
-
Gather Your Materials
Before the installation process, it’s important to ensure you have all the necessary materials readily available. Aside from a reliable truck tool box mounting kit you will need a high-quality drill equipped with appropriate drill bits for the job.
You also need a trusty measuring tape for precise measurements and a handy pencil to mark key points. These essential items can be conveniently sourced from your local hardware store or easily ordered online, ensuring a smooth and successful installation experience.
-
Prepare Your Truck Bed
Before installing the toolbox, it’s important to start by thoroughly cleaning the area where it will be placed. Remove any dirt or debris to ensure a clean and secure installation.
Next, take out a measuring tape and a pencil. Carefully mark the precise spots where you’ll be drilling holes for the mounting brackets. Take your time to measure accurately, as this will guarantee proper placement and alignment of the toolbox.
-
Install the Mounting Brackets
Using your drill and the appropriate size drill bit, carefully create holes at the marked spots on your truck bed. Take your time to ensure accuracy and precision. Once the holes are in place, securely attach the mounting brackets using the provided screws from your mounting kit.
Make sure to tighten the screws firmly, ensuring a stable and secure installation. Taking these steps will help ensure a safe and reliable setup for your truck bed accessories.
-
Attach Your Toolbox
Once the mounting brackets are securely in place, you can now attach your toolbox to the truck bed. Place your tool box on top of the mounting brackets and make sure it is aligned with the bracket holes.
Once positioned correctly, use a drill to secure the toolbox onto the brackets using provided screws. Follow the manufacturer’s instructions for proper attachment and make sure it is aligned and level.
Install Your Truck Tool Box Mounting Kit With These Easy Steps
And there you have it! By following these five easy steps, you’ve successfully installed your truck tool box mounting kit. Not only does this provide extra storage space for your tools and equipment, but it also keeps them organized and easily accessible.
Remember to always follow the manufacturer’s instructions and consult with an expert if you have any questions. Happy organizing!
Is this article helpful? Keep reading ours sites for more.


Join the conversation: